
Conversion of Saint Paul, 1601 :: Caravaggio


Obvious #2: Tripod. There, I said it! I have grown to love my tripod like a second child of camera equipment, even though I can 't stand the rigidity of the darn thing. When I need a particular shot or angle that a tripod just wont give me, I move onto #3. However, when the shot I want is straight forward and I want the clearest picture possible, I break out my BPF (aka: best photo friend). Besides, a self portrait just does not happen without it anyway!

Obvious #3: Freedom of being able to manipulate my camera settings in order to properly take over the world, or at least in my case of taking good pictures, is key. There are two ways to handle the low light issue, because keep in mind, cameras need, crave and die for light. That is their purpose - to capture light. In all workings of camera functions, if you add to something, you subtract from another. In other words you will always have shutter, aperture or ISO priority or a combination of the two, again, depending on the lighting situation and if subjects are moving. As long as you plan ahead and maybe even experiment, you will come up with your perfect recipe. Keep in mind that the higher your ISO (the film or sensors sensitivity to light), say 3200 ISO, the grainier your images become. An example would be old grainy black and white images with an ISO 800. Sometimes that can be a great look to have and some images are intentionally created to be grainy.
Another thing to remember is the longer you keep the shutter open on your camera, 8 seconds or more, you develop noise on the images (colorful, annoying dots that can ruin a black night sky and cause hours of editing). If you are stubborn or are not in a position to use a tripod, 1/60 is the waffeling point when slight movement from you - the photographer - can blur the image. Old 35 film cameras marked the 1/60 speed, indicating that any speed slower recommended a tripod for sharp images.
A larger aperture (3.5 to 1.2) will allow more light into the camera and will help the other settings if you need a faster shutter speed or want to ease up on the ISO.
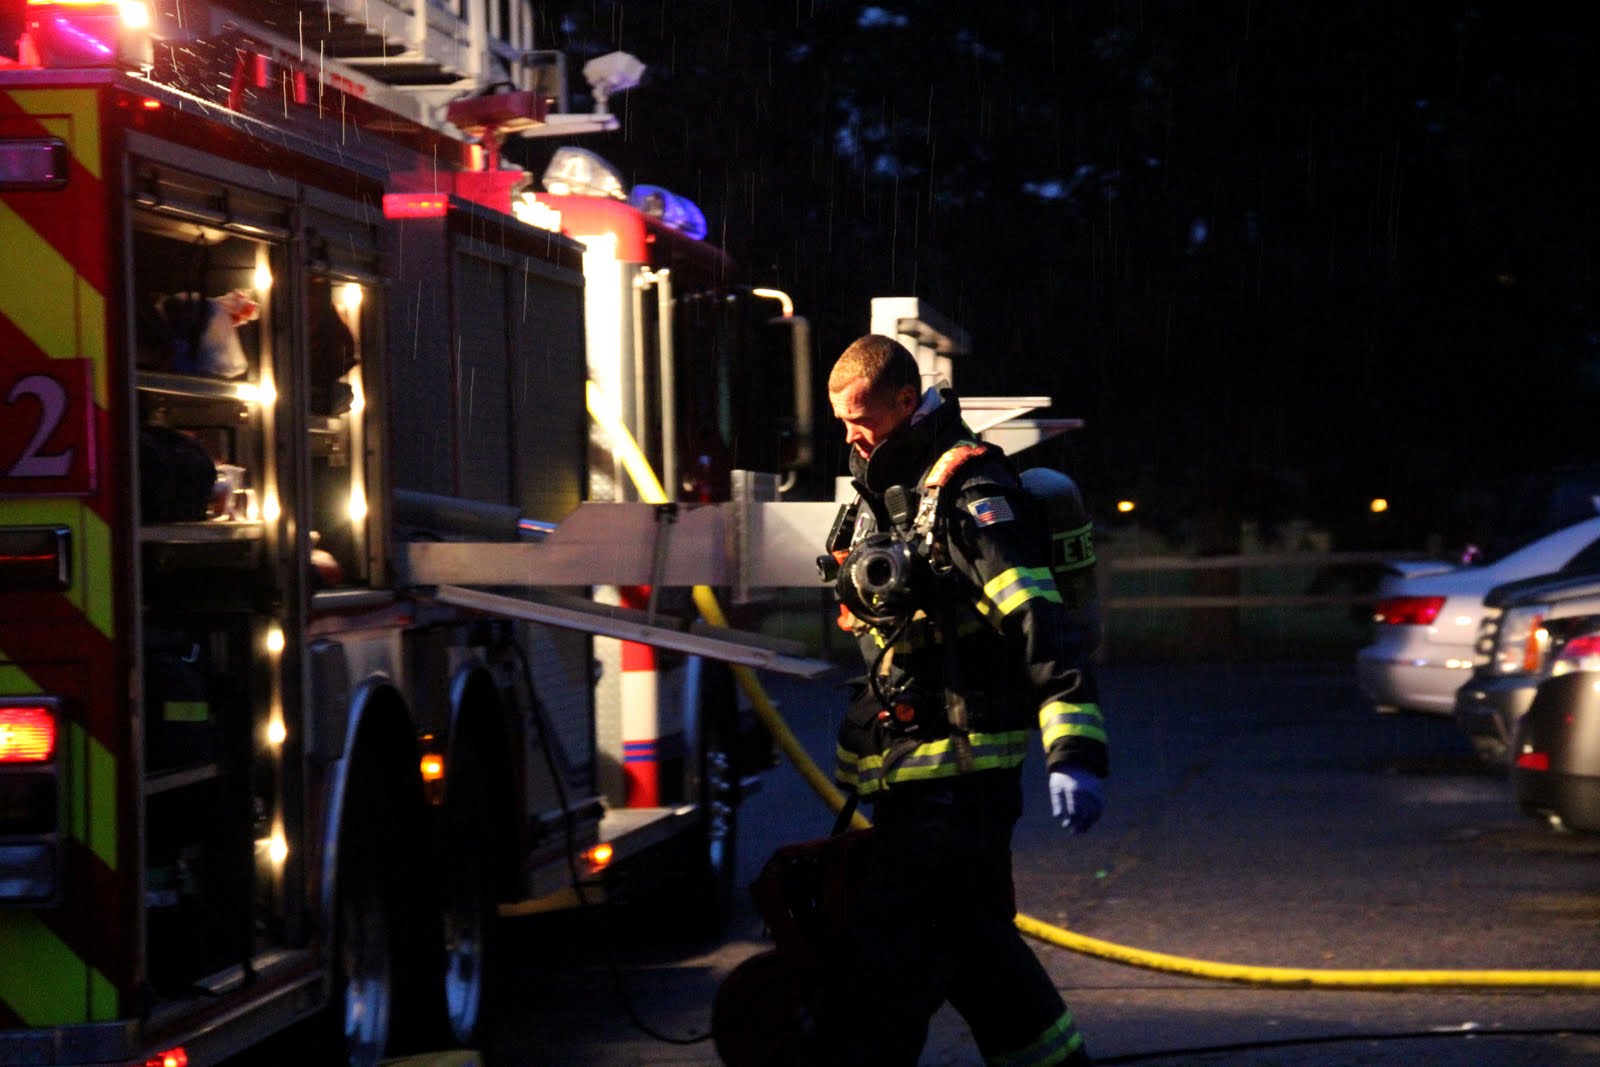

Just remember, photography is all about learning and experimenting. Since no situation of light is ever the same unless it is controlled, you will inevitably make mistakes and will learn enough to be ready the next time. It is always amazing to capture a chiaroscuro image when it looks like you went to the ends of the earth to capture what light was available.
~Rachel

